OpenCart 2.x Online Support Installation Tutorial: Layouts Need to be Added After Enabling Extensions
Installing LiveChat in OpenCart involves two steps: first, enable the module, then place it in the layout you're actually using. If you only complete the first step, visitors may still not see the window.
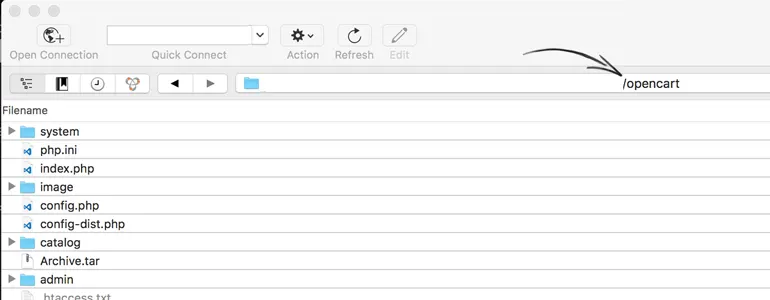
After confirming the specific OpenCart version in the store, select the corresponding extension package. The packages listed in the official tutorial are for the 2.0, 2.1, 2.2, and 2.3 series; for newer major versions, compatibility needs to be checked separately. After decompression, transfer the directory contents corresponding to the version to the installation directory.
Log in to the store backend, select the module type from the extensions, and open the LiveChat editing page. Enter the email address used to link your account, enable the extension, and save. If you need to view your shopping cart information in the chat, you also need to enable the shopping cart details option at this step.
Go to Layout Management under Design and select the layout actually used for the product details. Add the LiveChat module in the bottom content area and save. If the product page and category page use different layouts, changing only the product layout will not automatically override the category page layout.
Open the target page as a regular visitor, add an item to the shopping cart, and initiate a chat. Verify the window, message delivery, and shopping cart details. If only some pages are not displayed, first check the layout; if all pages are without windows, then check the module status and account association.